Cart is empty
 Bait
Bait
 Bait Accessories
 Bait Boats & Accessories
 Barrows & Trolleys
 Bedchairs & Accessories
 Bite Alarms & Accessories
 Bite Indicators
 Bivvies & Brollys
 Boats
Boats
 Books/Media
 Catapults & Accessories
 Chairs & Accessories
 Clothing
 Cooking Equipment
 Fish Care
 Fly Lines
 Lighting
 Luggage
 Lures
Lures
 Mainlines
 Nets
Nets
 Pole Accessories
 Pole Support
 Poles & Whips
 Reels
Reels
 Rod & Reel Kits
 Rod Support
 Rods
Rods
 Scales
 Seat Boxes & Accessories
 Terminal Tackle
 Tools
Tools
Ronnie Rigs are becoming increasingly popular for pop-up rigs due to their ability to reset themselves if the rig gets moved and the quality hook holds you get associated with them. The spinning swivel allows the hook to turn in any 360 degree direction, normally resulting in a hook hold in the bottom lip
They may look complicated to tie, but they aren’t. Follow our easy guide below to get yourself tying perfect ronnie rigs in no time!
STEP ONE
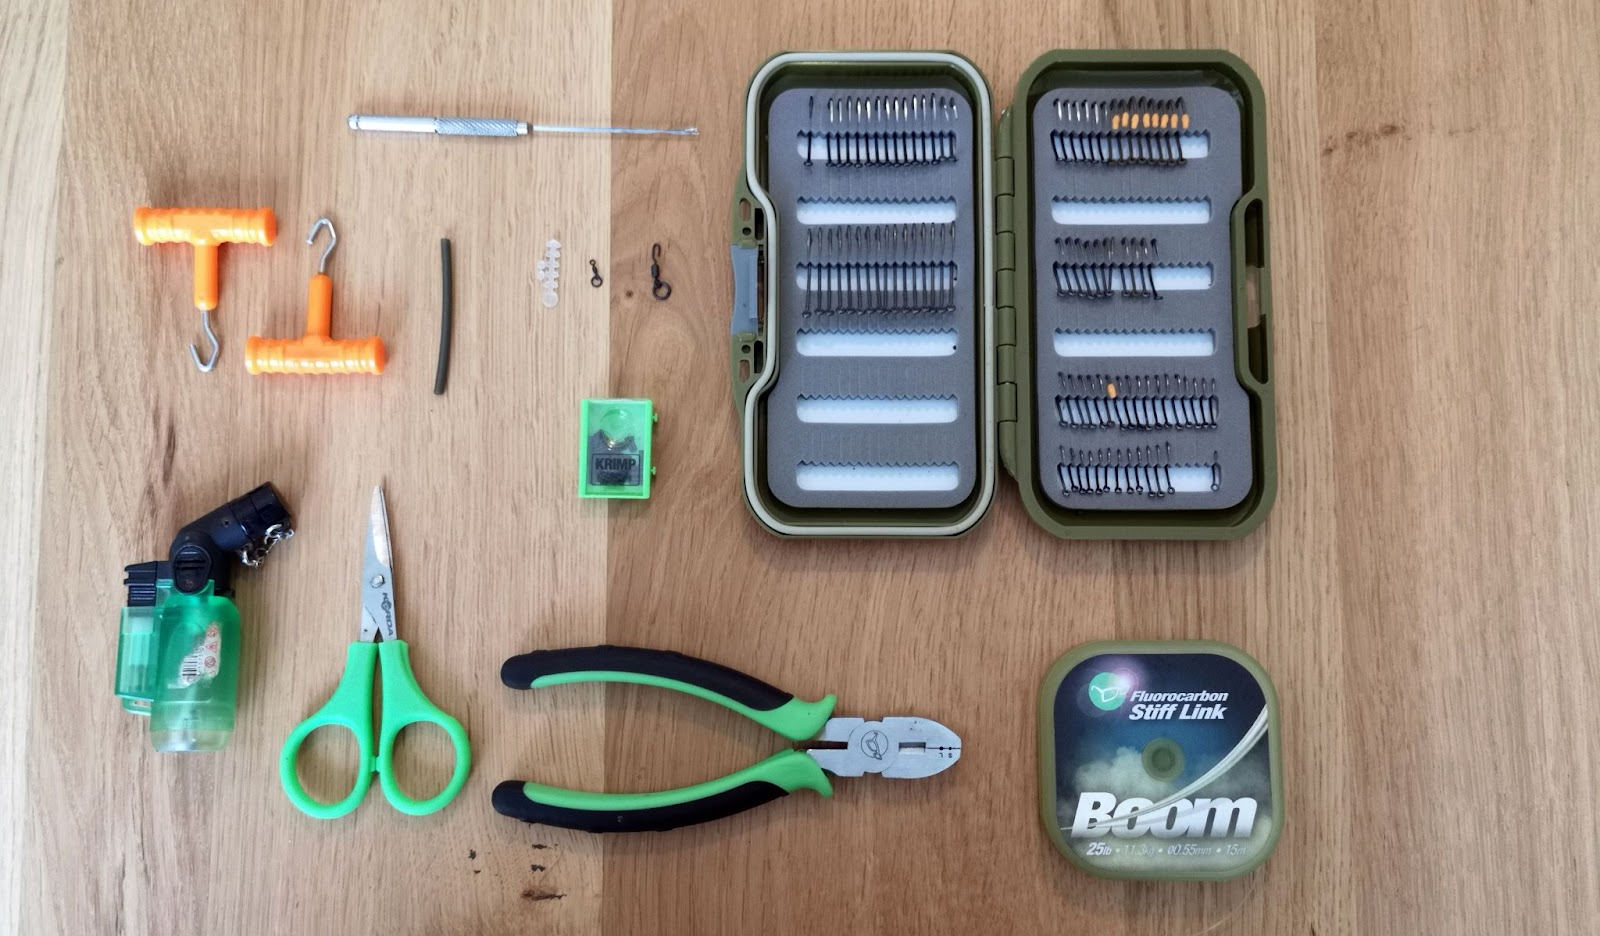
Here are all the components you need. For this rig, we will be using a stiff fluorocarbon boom as this hooklength material allows the rig to be pushed away from the lead.
In this example we will not be adding an anti-tangle sleeve as for stiff boom we do not feel it necessary, feel free to add one though.
1x Korda Stiff Link Fluorocarbon Boom Material, 25lb
1x Korda Krimps (Wychwood also make a good pair)
1x Scissors
1x Lighter
2x Hook pullers (not necessary but help to straighten the boom out)
1x Shrink tube 2.5mm (3.5mm also works)
2x Hook beads
2x 0.6mm Korda Krimps, this pairs with the 25lb Stiff Link
1x Micro ring hook swivel
1x Spinner swivel, size 11
1x Gardner Covert Mugga Hook
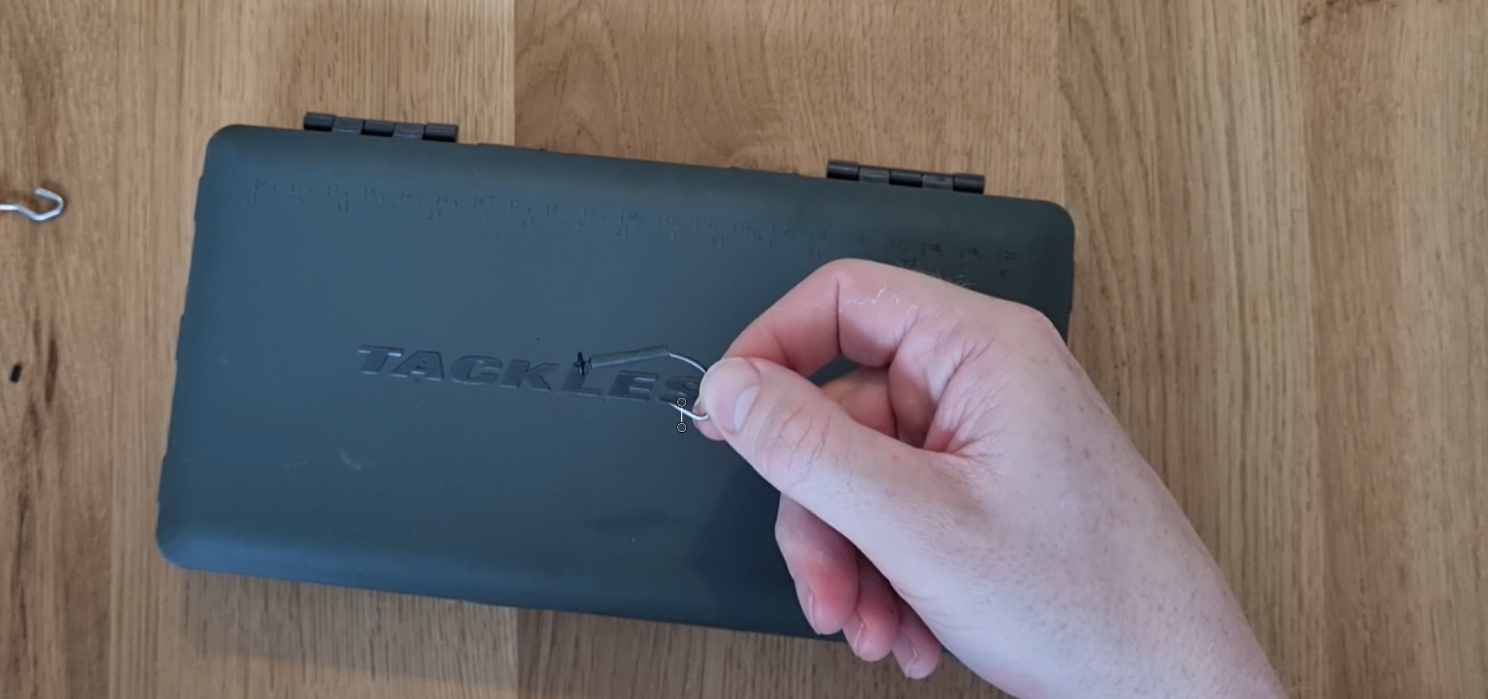
STEP TWO
Measure out and cut off around 7 inches of still boom material

STEP 3
Then take one end of the boom material, slide a crimp through one side of it. Then double it over and slide the tag end of the boom through the other crimp, creating a loop.
Take your crimping tool, line it up with the correct crimp size and press down on it to close the crimp off. It is useful to use one of the puller tools to give the loop a quick tug to make sure it is closed securely

STEP 4
Now it is time to make the “spinner part of the rig. Select your hook and trim off around a thumbnail width of shrink tube. Push the shrink tube over the eye of the hook and feed it down the hook’s shank so that the eye of the hook is exposed
Slip the spinner swivel through the eye of the hook, then slide the shrink tube down over the eye of the hook and the body of the spinner rig. Apply heat to the shrink tube using a lighter and it will shrink snuggly around the components. Give the spinner a shake to make sure it can travel freely in 360 degrees

STEP 5
Now it’s just a case of putting on the hook stops, micro ring swivel and attaching the boom to the rig.
Slide on one hook stop so that it is just below the line where the end of the hook is in parallel to the hook’s shaft. Add the micro ring swivel on next, then follow it with the other hook stop. Don’t pinch the ring swivel right in between the two hook stops, leave a few millimeters either side so that the bait can move naturally in the water.
Then slide the loose end of the boom through one side of the krimps, feed it through the large ring on the rig, back through the other side of the krimp and clamp down to close off the loop

And there we have it - one quick and easy-to-tie Ronnie Rig. You can add a small blob of putty using the krimp near the hook as an anchor now or when you are on the bank, it’s totally up to you!
Watch the video below to see the rig being tied in real-time
If you liked this article, or would like to see more rigs being tied please leave a comment below